
Jun 18, 2025
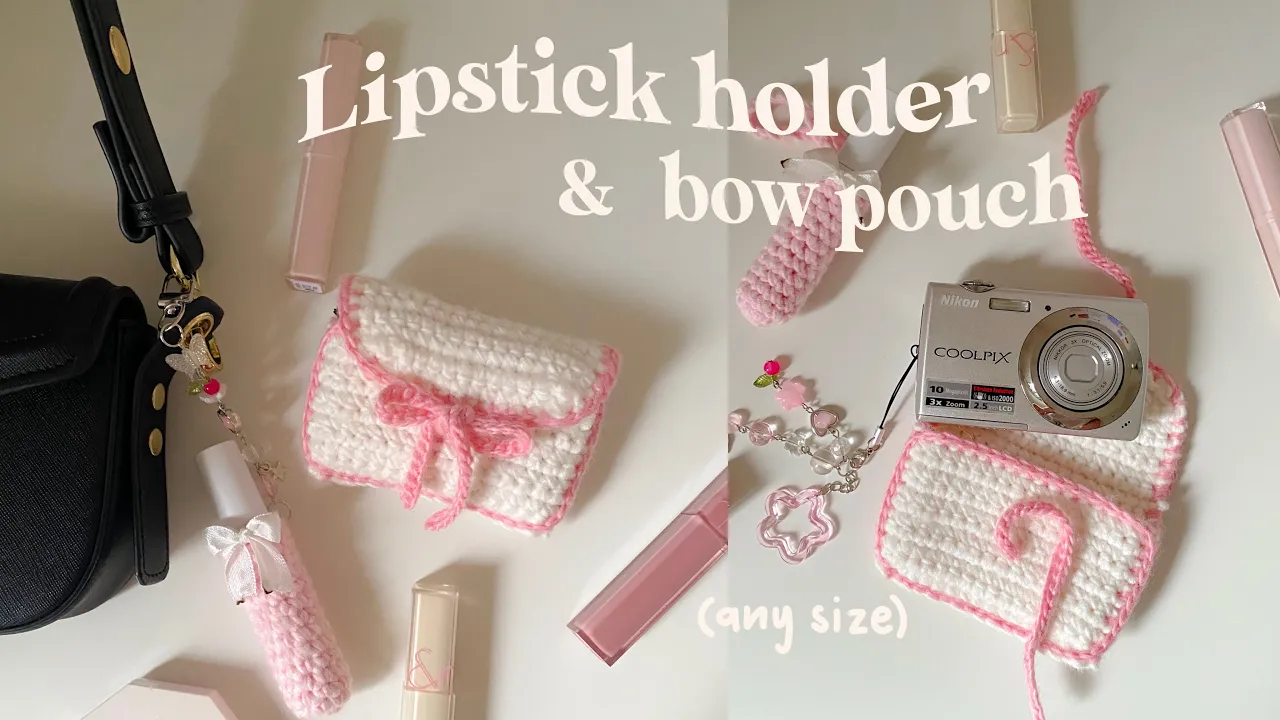
How to crochet coquette lipstick holder & pouch 🎀 (ANY SIZE) | easy and fast to make!


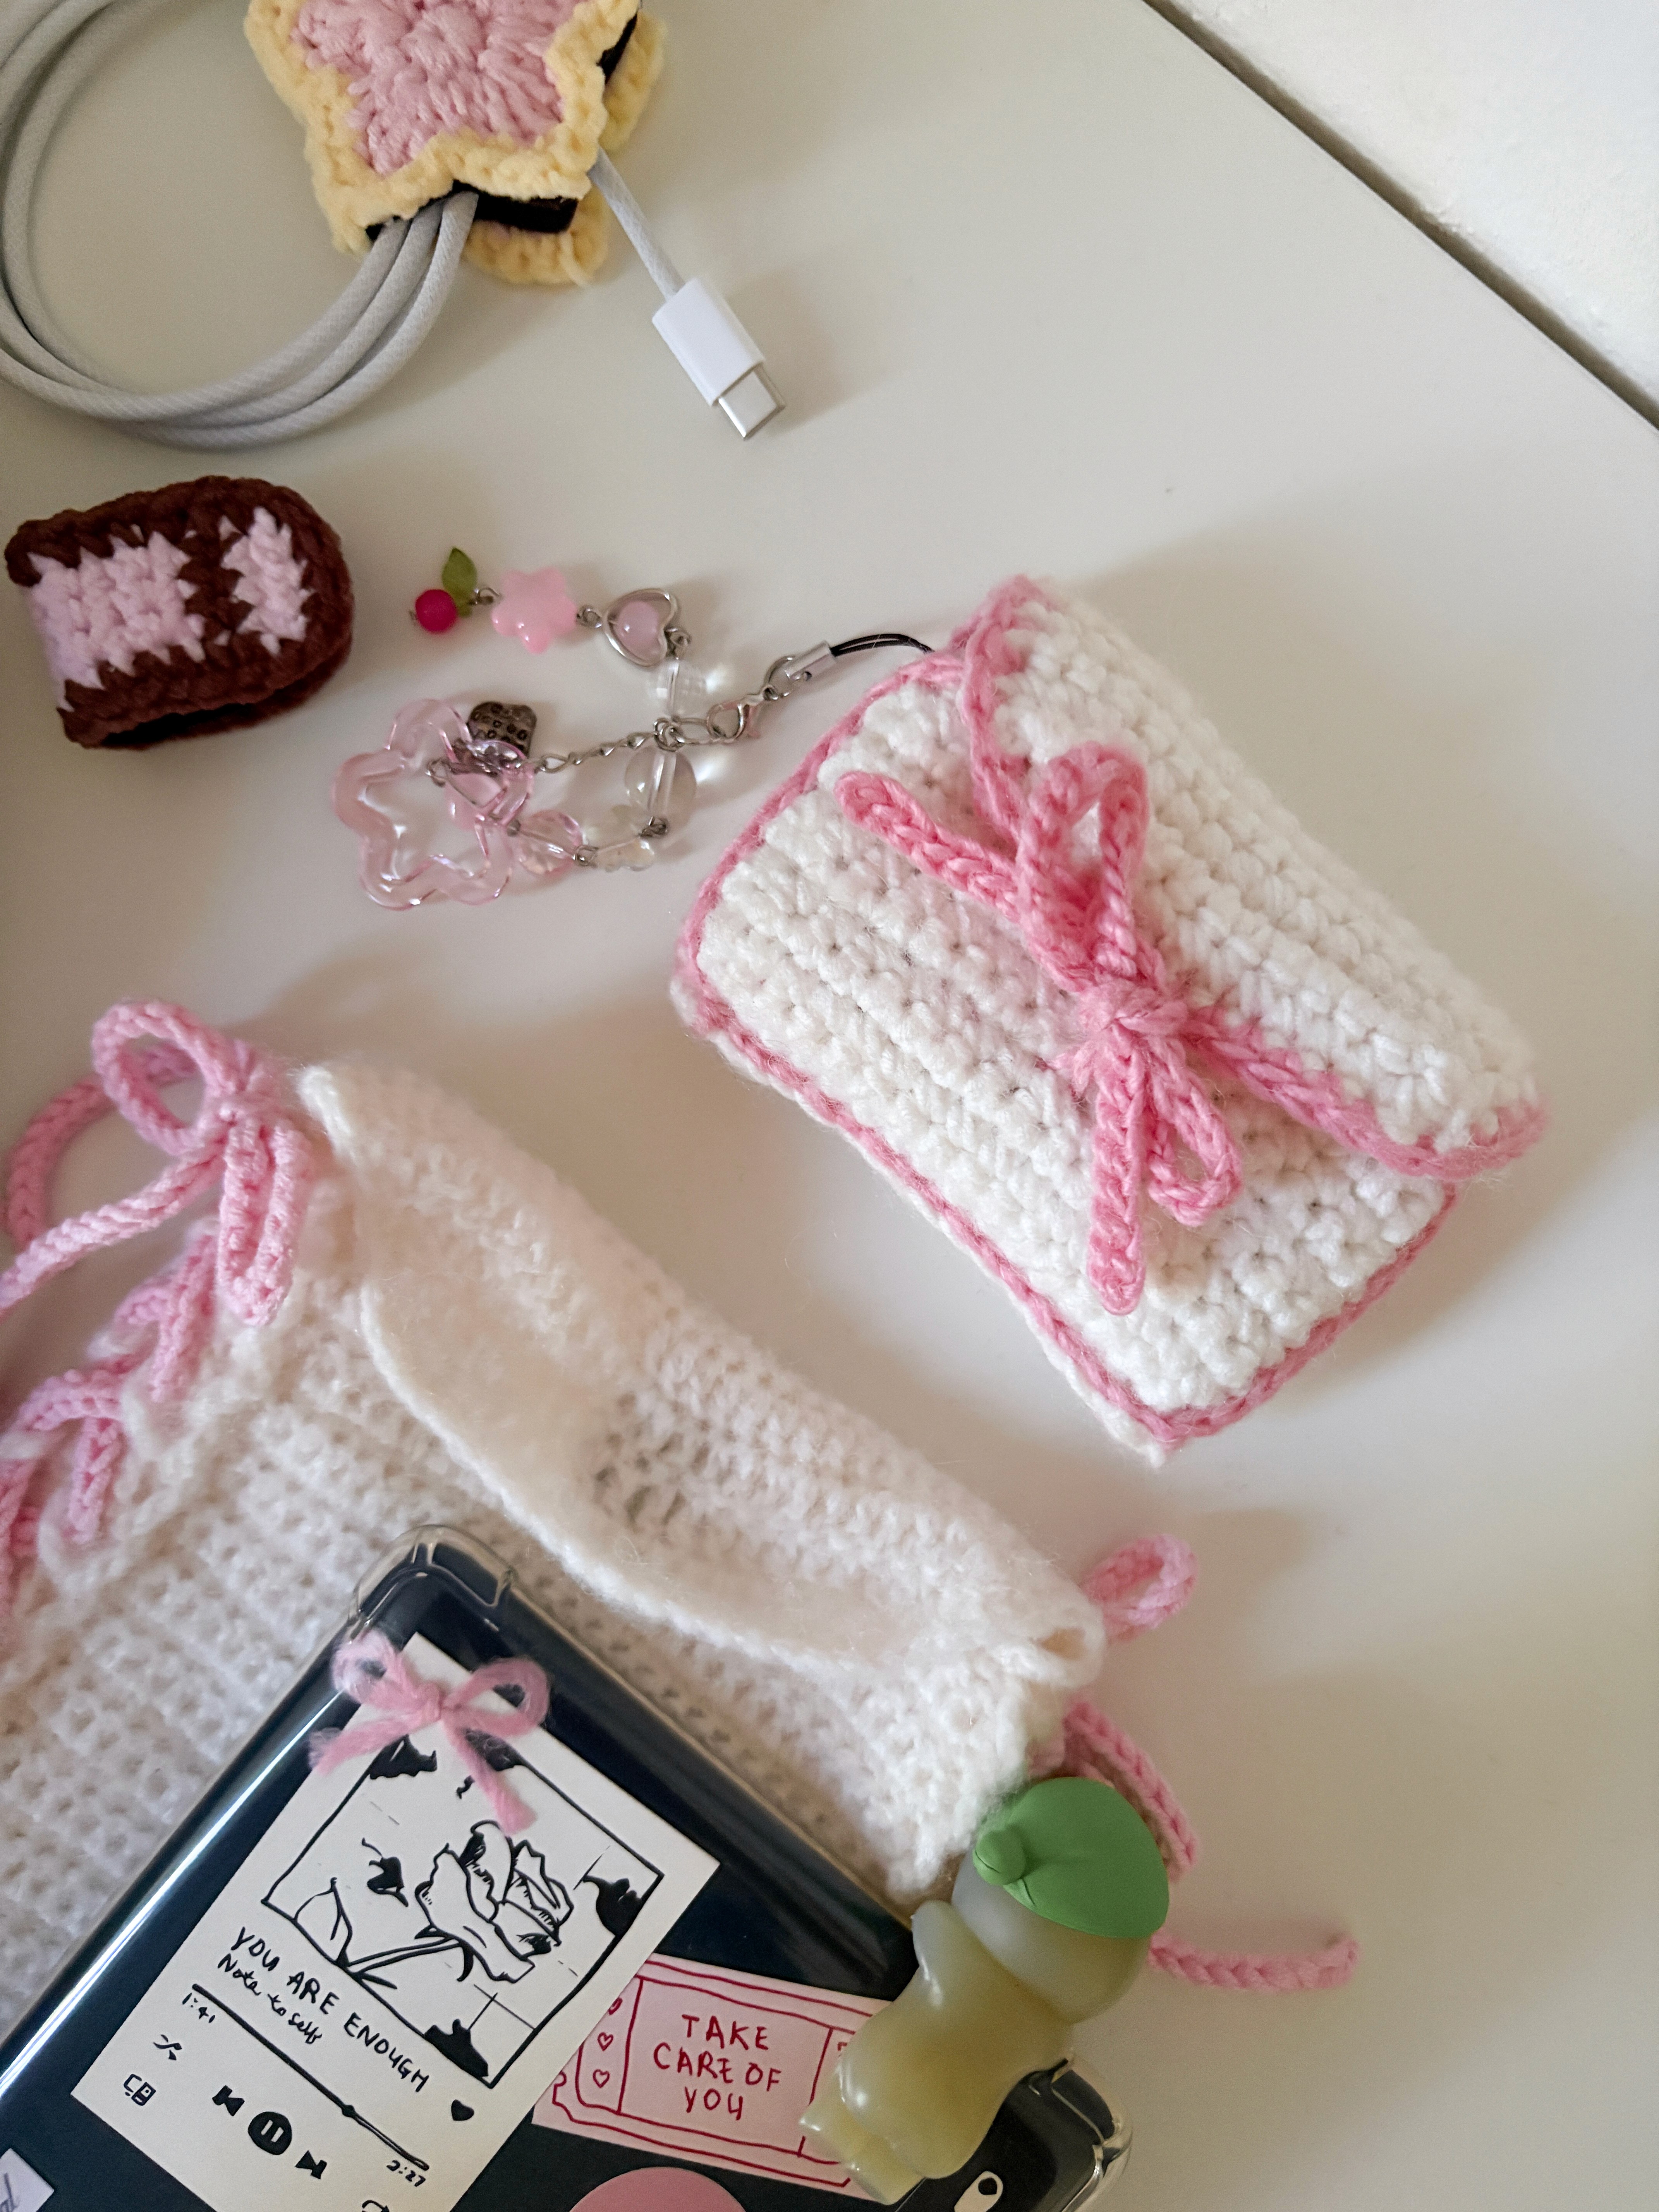
Hiii lovelies! If you love practical crochet projects that you can actually use every day, this lipstick holder and customizable pouch crochet pattern is a perfect match. The lipstick holder is small, quick to make, and keeps your favorite lippies easy to grab in your bag. The pouch is designed with a simple, adjustable pattern so you can customize it to any size which is perfect for digital cameras, mini gadgets, or even as a small essentials pouch. In this blog post, you’ll find a beginner-friendly tutorial that guides you through both projects, from crocheting a sturdy lipstick holder to making a snug pouch that fits your device or essentials perfectly. Whether you're making these for yourself or as thoughtful handmade gifts, these easy crochet accessories work up fast and add a cute, practical touch to your everyday carry. Now, let's start! <3
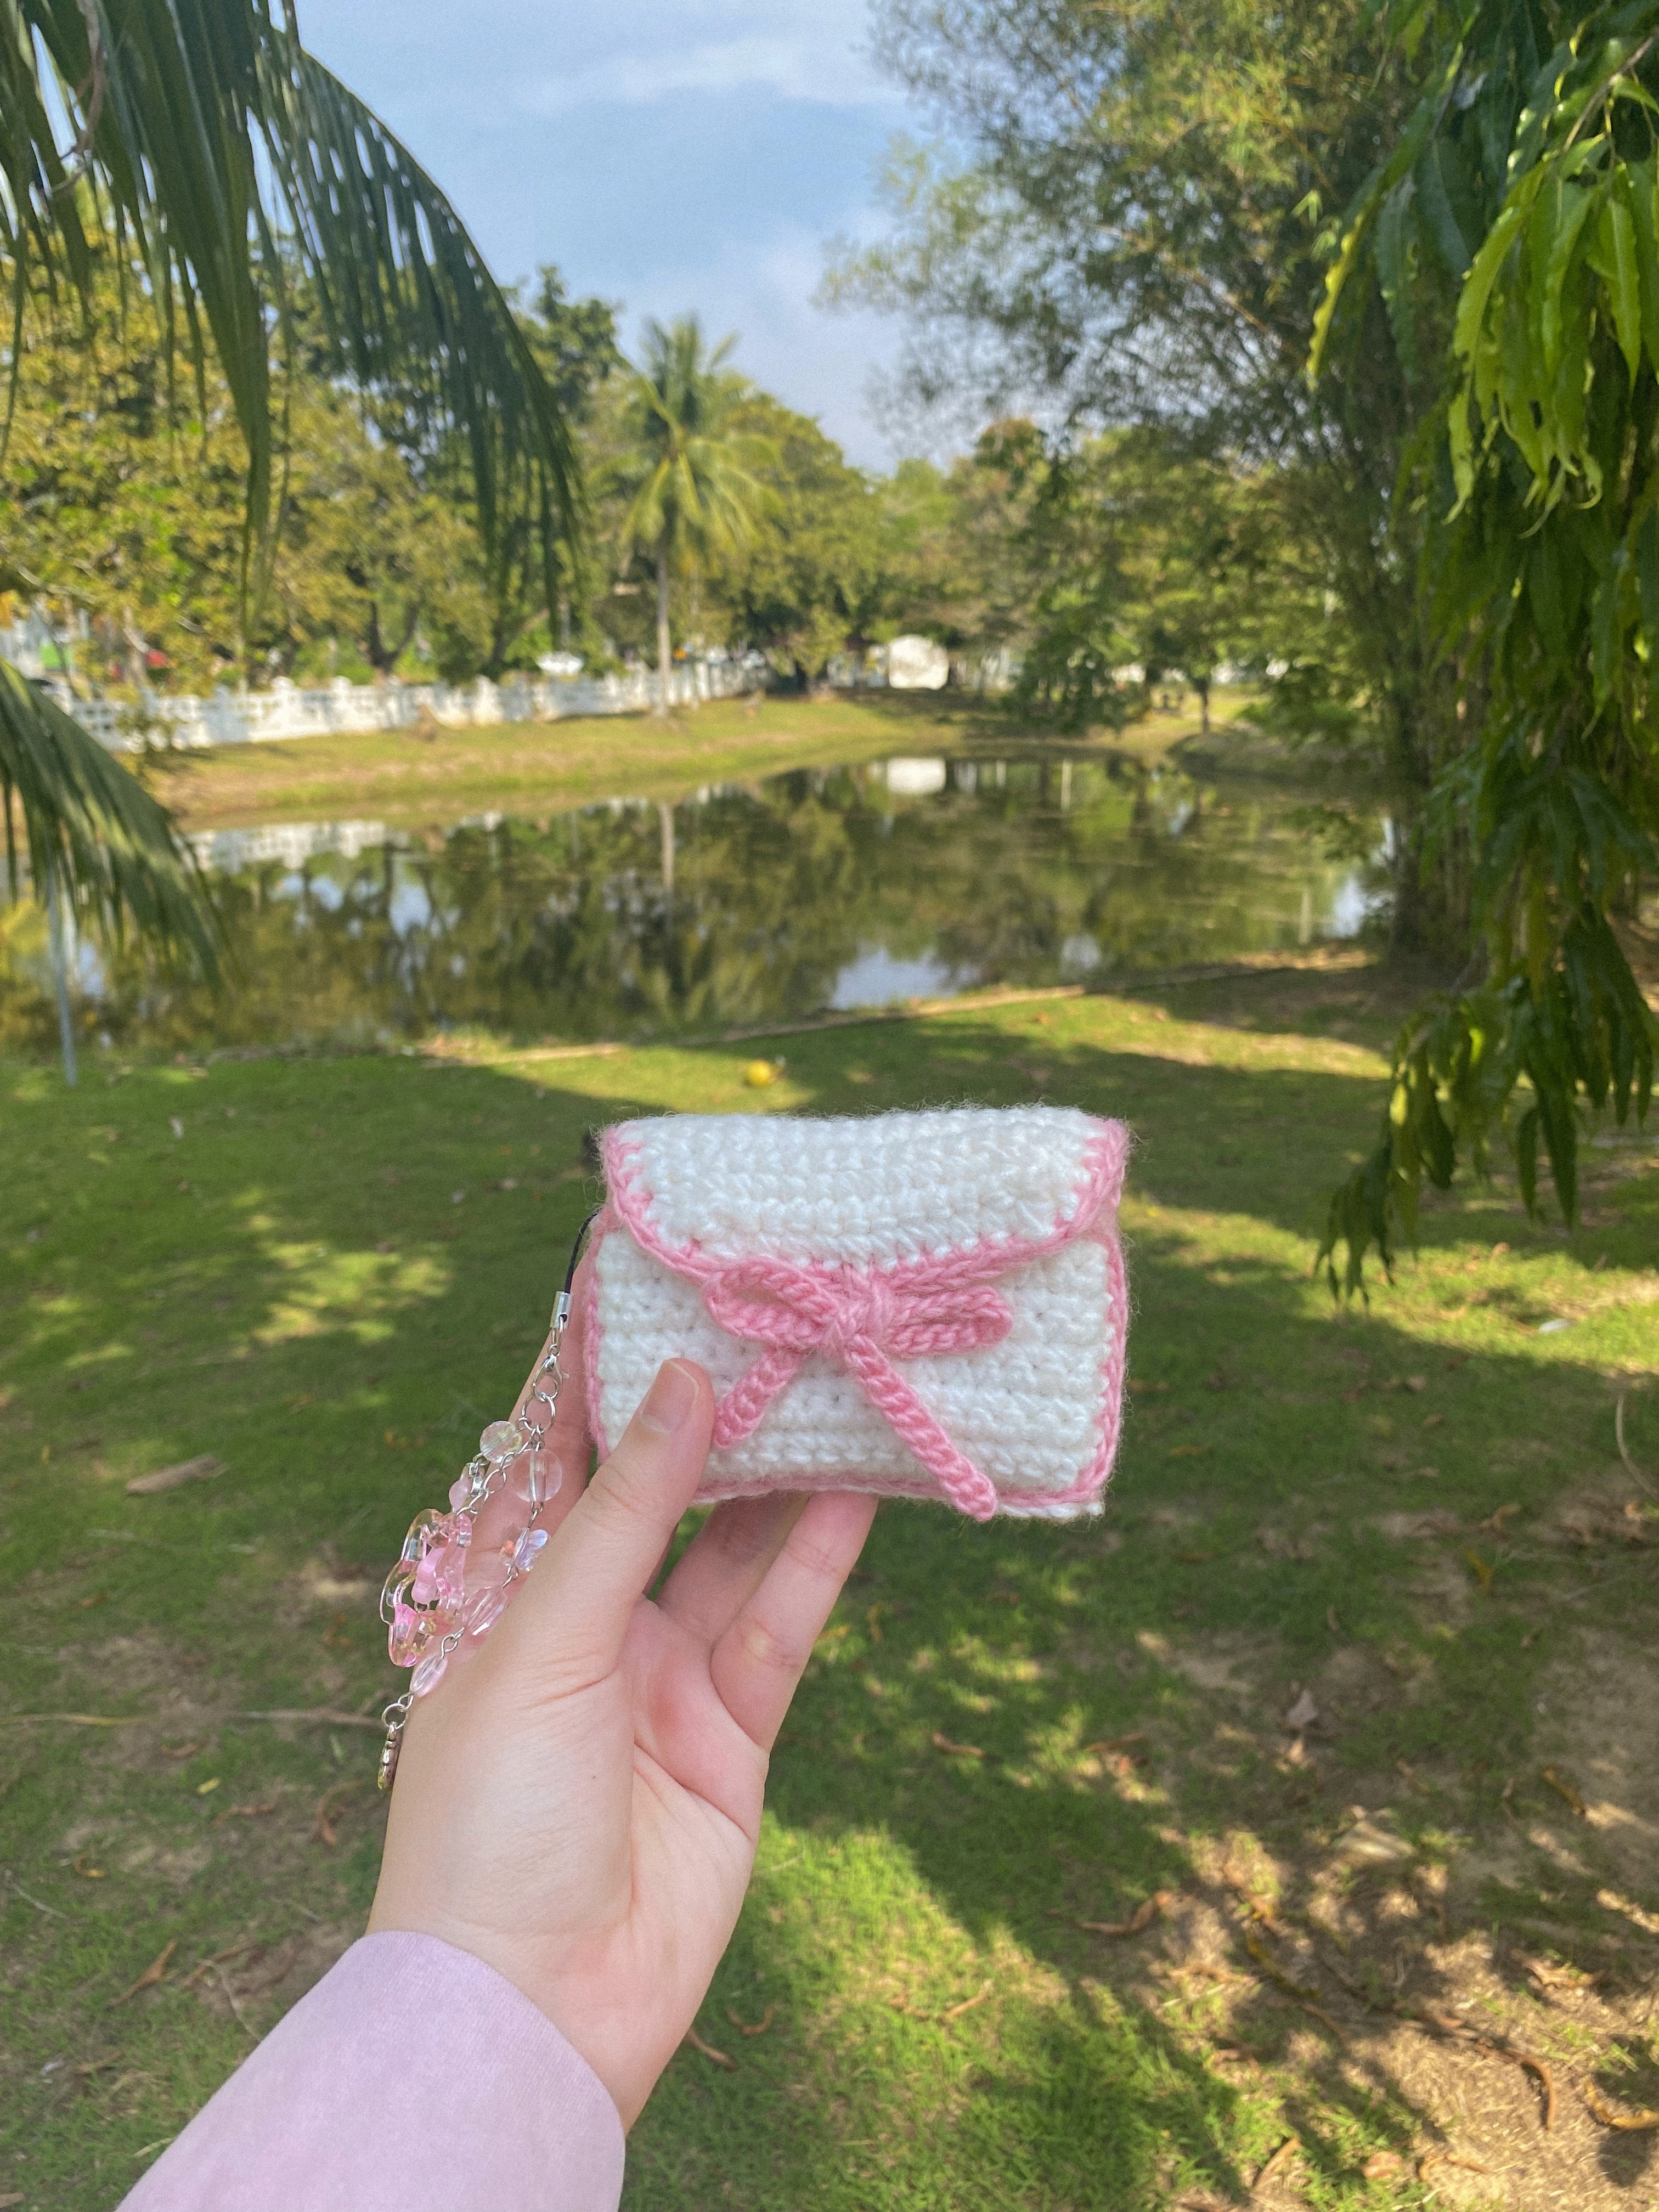
I use it for my digi cam and it's with me everywhere I go. I love it 🫶🏻

✿ Copyright
Please do not copy or redistribute this pattern as your own. This lipstick holder and pouch crochet pattern belongs to me, @mucie.studio. You may sell the finished items made using this pattern! Just please give me credit to help support me and my art. This will help me create more patterns for you in the future!
Watch the video below and crochet along with me! I recommend you watch the video while keeping the pattern open to make your crocheting process easier! <3
✿ Notes
‣ This pattern uses US terminology.
‣ Number of stitches indicated between <xx>
‣ Weave in any excess yarn.
✿ Materials
1. Yarn:
- 5ply yarn or any yarn that is suitable with 3.5mm hook
- brown yarn for the eyes, whiskers and mouth
- any yarn to tie a bow on the neck
2. 4.0mm crochet hook
3. Darning needle
4. Scissors
5. Key chain
6. Stuffing
7. Glue
✿ Stitches & Abbreviation
Ch: Chain
St(s): Stitches
Sc: Single crochet
Dec: Decrease
Sl st: Slip stitch
✿ Lipstick holder / pouch crochet pattern ✿
Lipstick holder
Round 1: In a magic ring, make 10sc. This is going to be the base for your lipstick so make sure that it is the same size as your lipstick base. This is really important cause you need the lipstick holder to tightly hug around your lipstick as you don’t want it to fall out. If 10sc is too small or too big for your base, you can add more or lessen the number of single crochets accordingly.
Round 2 - 14 (or until it reach the opening of your lipstick): Insert 1sc in each st
★ To fasten off, there’ll be two methods and it depends on whether you want to add charms or not.
- If you plan to add a charms you don’t need to make the keyring with chains. Instead, you’re going to finish off round 14 with a sl st into the first st. Then, fasten off.
- If you don’t want to add any charms this is what you’re going to do. You’re going to make the keyring with chains so first finish off round 14 with a sl st into the first st. Then, chain how long you want the keyring to be. I recommend that you chain 25+. Lastly, make a sl st into the first st and fasten off.
Pouch
i) Front panel
Round 1: Ch how long you want your pouch to be then add 1 more ch as your turning ch. I did 17 + 1 chains.
Round 2 - 11 (or you can continue until it reach your desired length): Ch 1 and turn your work. Insert 1sc in each st.
★ Fasten off.
i) Back panel
Round 1: Ch the same number as the front panel. As I did 17 + 1 chains, I will make 18 chains again.
Round 2 - 20 (or you can continue until it reach your desired length): Ch 1 and turn your work. Insert 1sc in each st. When you put the front panel and back panel together, you have to make sure that the back panel cover about 5 rows of the front panel as it will act as the flap.
Round 21: Ch 1 and turn your work, dec x 2, 1sc in each st until you’re left with 4 stitches, dec x 2
Round 22: Ch 1 and turn your work, dec, 1sc in each st until you’re left with 2 stitches, dec
★ Fasten off.
From creator
Hi! Haly here, well done finishing the pattern. I'm so proud of you 🩷 Thank you for visiting my site and give my pattern a lot of love. I won't be here if it's not for you!! If you create the pattern and post it on any social media please tag me @muciestudio I would love to see all your creations and you don't know happy I am seeing each one of your posts 🥹🫶🏻 Feel free to reach out if you have any questions, I would be happy to help!
Latest crochet pattern!


You saw. You came. You crocheted.
Thank you for visiting!
