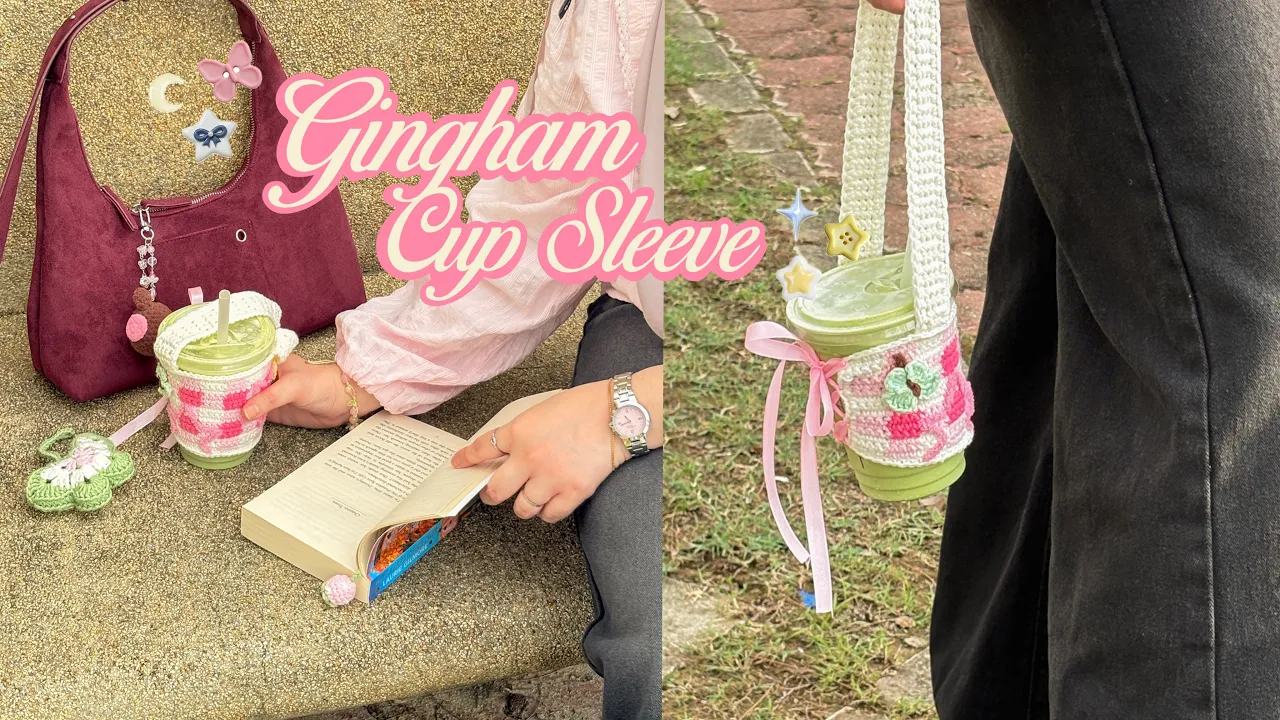
How to crochet gingham cup sleeve (with bow)

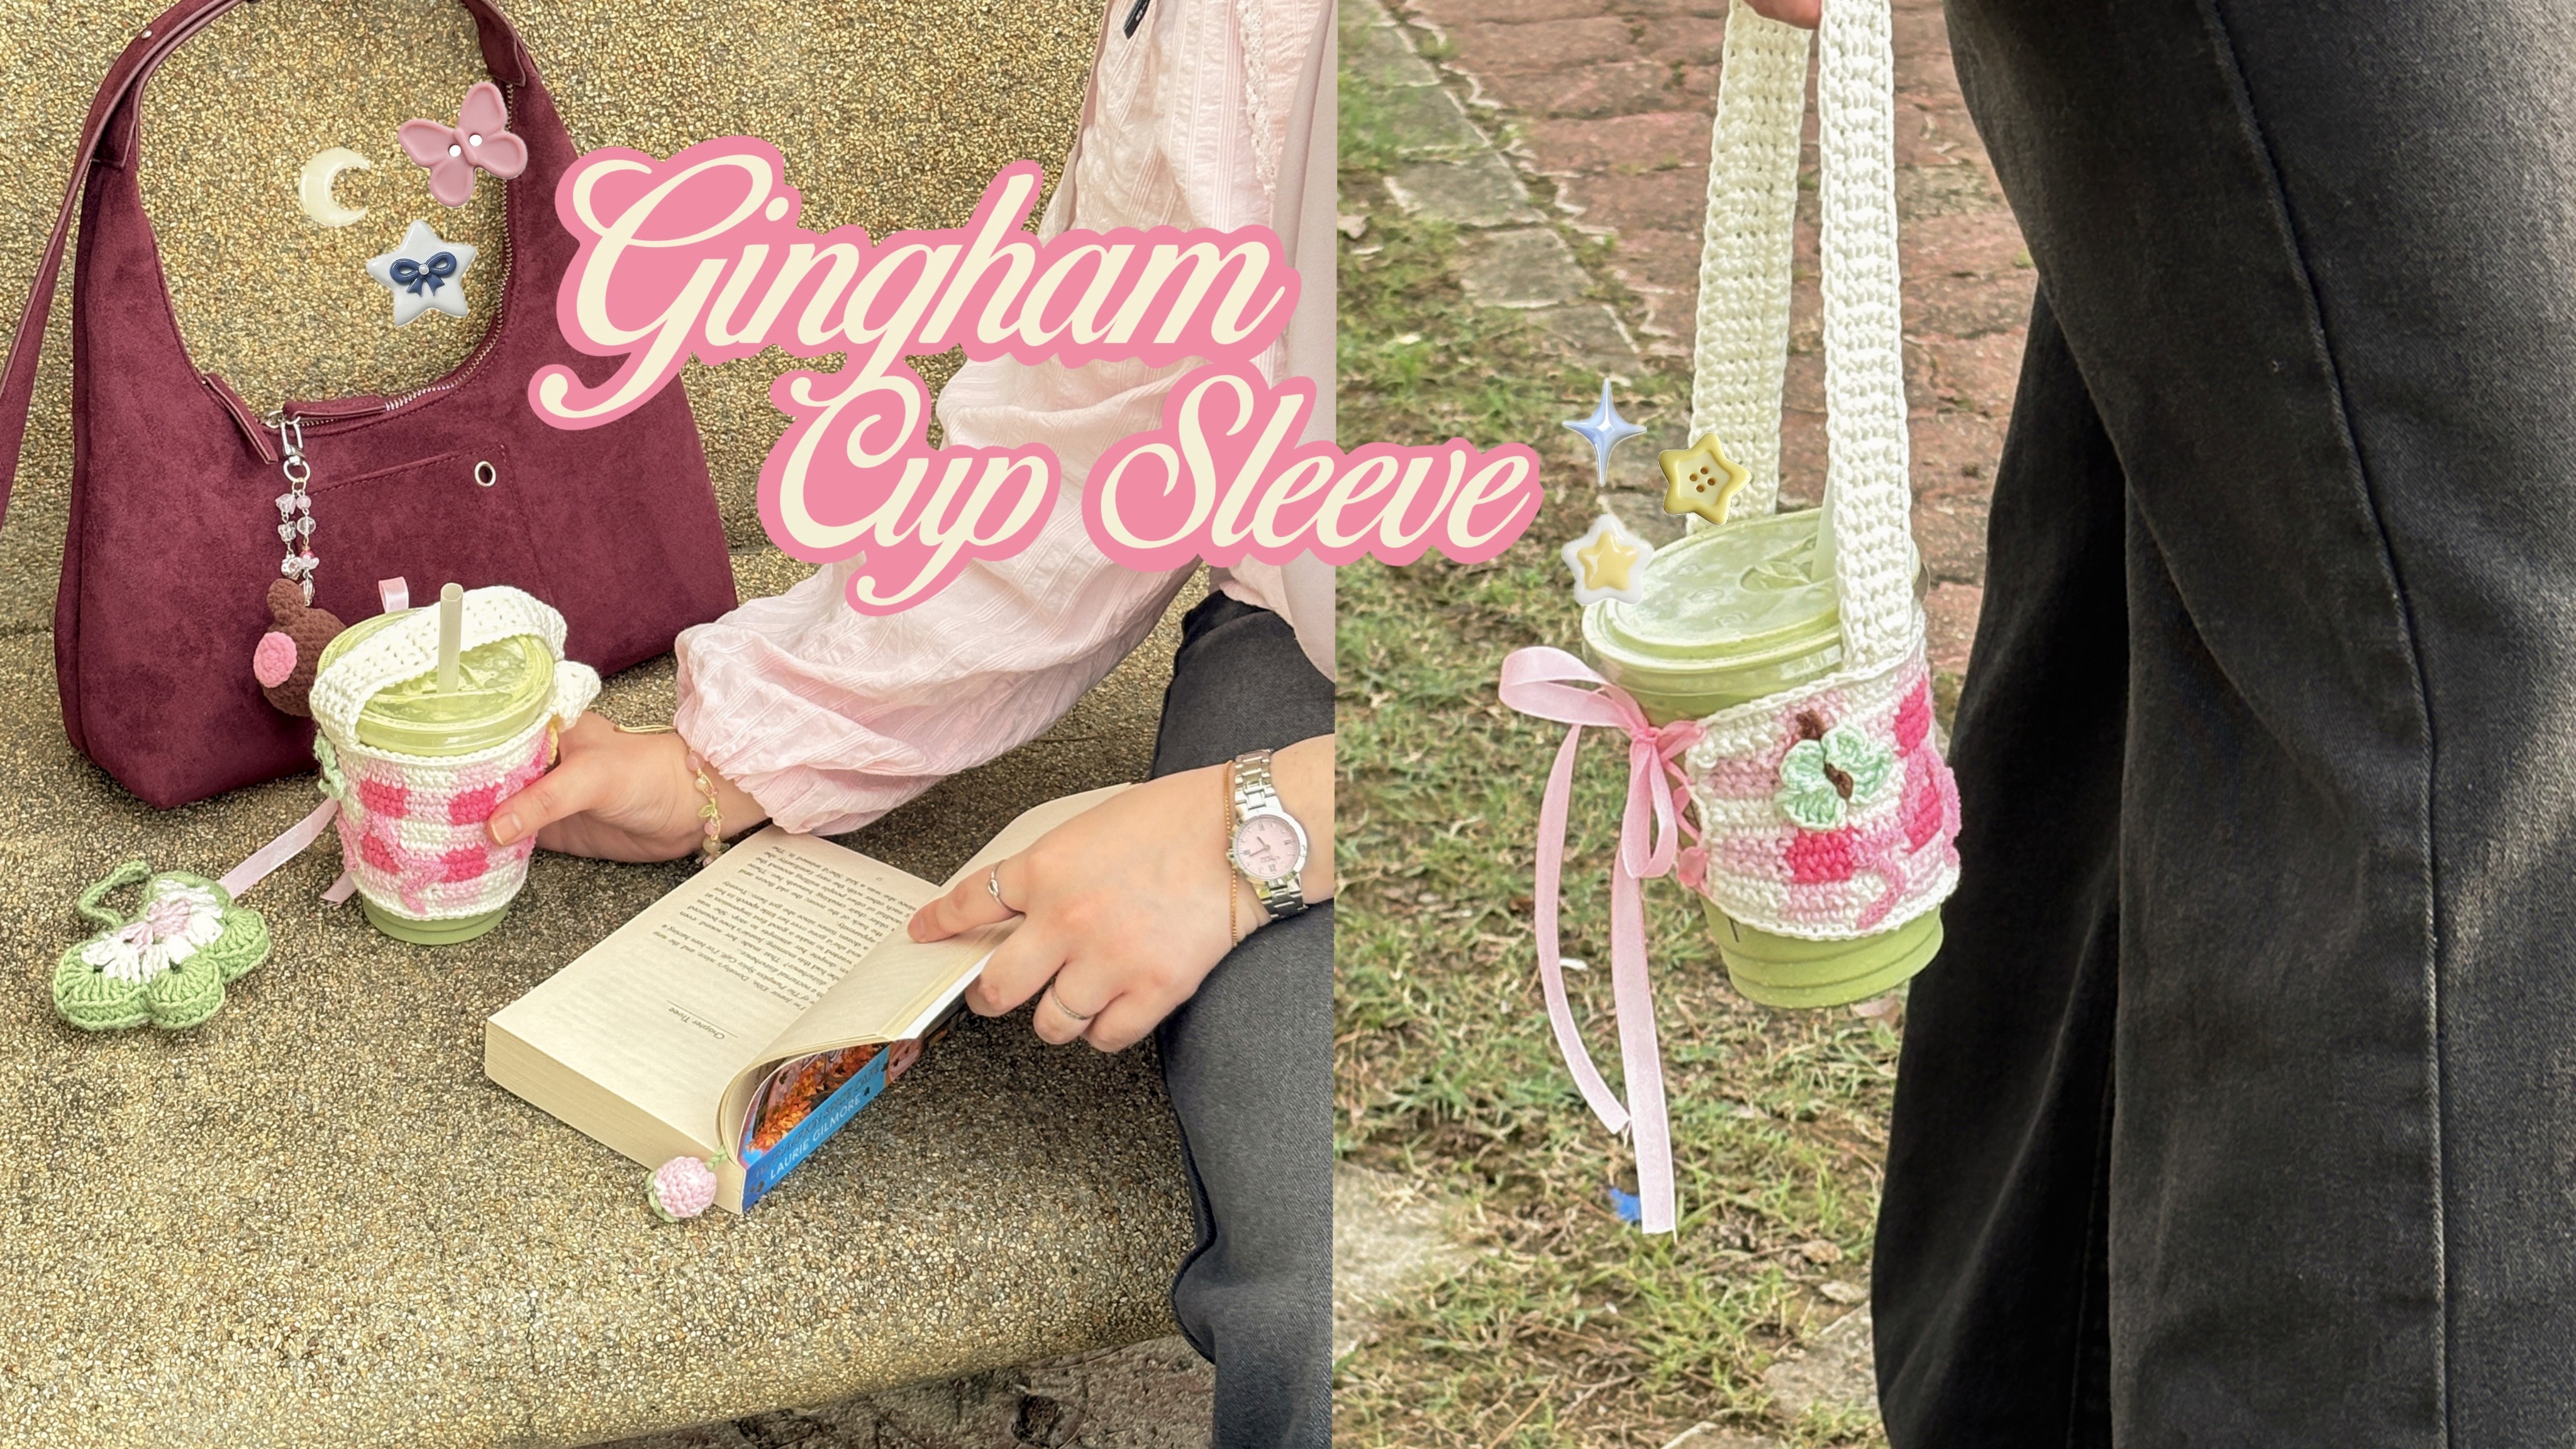
Give your favorite drink a cozy makeover with this adorable gingham crochet cup sleeve! This pattern is suitable for advanced beginner as it involved color work. But if you're a beginner and want to give it a try, I highly recommend for learning experience! Whether you're dressing up your daily matcha, coffee, or tea, this handmade sleeve adds the perfect touch of whimsy while keeping your hands comfortable. Grab your yarn, pick your favorite colors, and let's crochet a cute accessory that's both practical and aesthetic! ✨🤎💗
✿ Copyright
Please do not copy or redistribute this pattern as your own. This gingham cup sleeve crochet pattern belongs to me, @mucie.studio. You may sell the finished items made using this pattern! Just please give me credit to help support me and my art. This will help me create more patterns for you in the future!
My essentials for the park date! <3


Watch the video below and crochet along with me! I recommend you watch the video while keeping the pattern open to make your crocheting process easier! <3
✿ Notes
‣ This pattern uses US terminology.
‣ Weave in any excess yarn.
✿ Materials
5-ply yarn in white. Then choose your base color which in this pattern I chose pink. You will need 5-ply yarn in light and dark color.
4-ply yarn for butterfly and flowers
4.00 crochet hook
3.50mm crochet hook
Darning needle
Scissors
✿ Stitches & Abbreviation
Ch: Chain
St(s): Stitches
Sc: Single crochet
Dc: Double crochet
Tc: Treble crochet
Hdc: Half double crochet
Sl st: Slip stitch
✿ Gingham cup sleeve crochet pattern ✿
Gingham cup sleeve
Use 4-ply yarn and 4.00mm crochet hook.
Round 1:
White yarn: Ch 45, start in the 2nd ch. 4sc. Before you finish off the last single crochet, pull through the two loops with the light pink yarn to change color.
Light pink yarn: Continue with 4sc.
Alternate between these two colors until the end. You should end with the white yarn.
Round 2 - 3:
Each square in this gingham pattern is made up of 3 rows. Once you’ve completed 3 rows in the same color placement, switch the color arrangement for the next 3 rows to create the classic gingham effect. From round 1-3 we're using white and light pink yarn. After this round you'll change the color placement where you'll use light pink and dark pink)
White yarn: Ch 1 and turn your work. 4sc. Before you finish off the last single crochet, pull through the two loops with the light pink yarn to change color.
Light pink yarn: Continue with 4sc
Alternate between this two colors until the end. You should end with the white yarn.
★ On round 3, for the last white square you will pull through with the light pink yarn to change color as we will start with the light pink yarn on round 4.
Round 4 - 6:
Carry the white yarn for multiple stitches then cut it off as you will not be needing it for 3 rounds.
Light pink yarn: Ch 1 and turn your work. 4sc. Before you finish off the last single crochet, pull through the two loops with the dark pink yarn to change color.
Dark pink yarn: Continue with 4sc
Alternate between this two colors until the end. You should end with the light pink yarn.
★ On round 3, for the last light pink square you will pull through with the white yarn to change color as we will start with the white yarn on round 7.
★ Alternate between these two steps (Round 1-3) and (Round 4-6). Continue making the gingham until round 12.
Round 12: Ch 1, insert 1sc in each stitch all around.
Fasten off using a fake stitch method for a cleaner look.
Strap
Round 1: Ch 5, start in the 2nd ch. Insert 4sc
Round 2: Ch 1 and turn your work. Insert 4sc
★ Continue round 2 until the strap reach 33cm.
Once it reach 33cm, continue with this pattern:
Ch 1, insert 1sc in each stitch all around. Fasten off using a fake stitch method for a cleaner look.
Flower
Use a 4-ply yarn and 3.0mm hook.
Round 1: In a magic ring, insert 5sc, sl st
Round 2: Attach a new color (before you finish off the last round sl st), ch 1, (1sc, 3hdc, sl st) in the same st x 5
★ Fasten off and make one more.
Butterfly
Use a 4-ply yarn and 3.0mm hook
Round 1: In a magic ring, insert ch 2, 3dc, ch2, sl st, (ch 3, 4tc, ch3, sl st ) x 2, ch 2, 3dc, ch 2, sl st
★ Fasten off. Sew on the body and make the antenna just like how I showed in the video.
Assembly
i) Strap
From the back of the cup sleeve, sew the strap at the 2nd white square. You will do this for the left and right side.
ii) Flowers & butterfly
Glue the flowers on the right side (refer video for placement). As for the butterfly, glue it on the left side of your cup sleeve.
iii) Stars
Sew two stars onto the cup sleeve. This is optional, i just add it to add more texture to the cup sleeve. (refer video for placement)
From creator
Hi! Haly here, well done finishing the pattern. I'm so proud of you 🩷 Thank you for visiting my site and give my pattern a lot of love. I won't be here if it's not for you!! If you create the pattern and post it on any social media please tag me @muciestudio I would love to see all your creations and you don't know happy I am seeing each one of your posts 🥹🫶🏻 Feel free to reach out if you have any questions, I would be happy to help!
Latest crochet pattern!



You saw. You came. You crocheted.
Thank you for visiting!