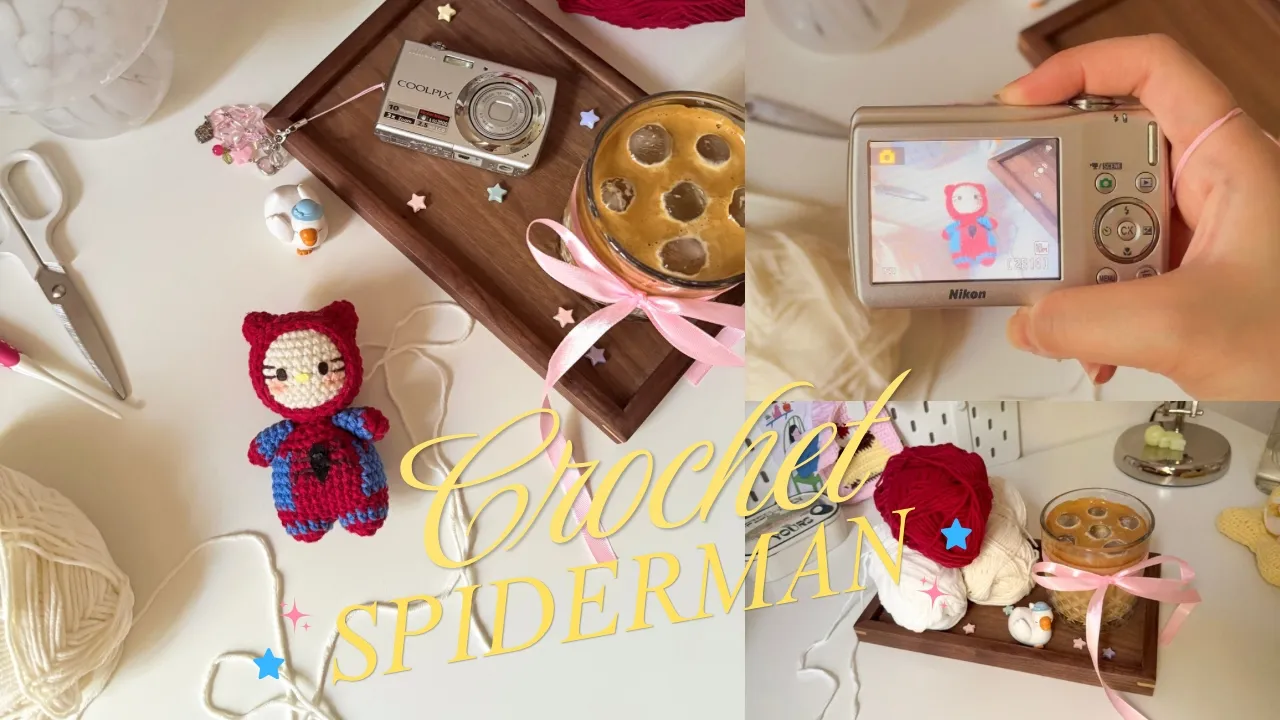
How to crochet spider-man hello kitty 🕷️🎀
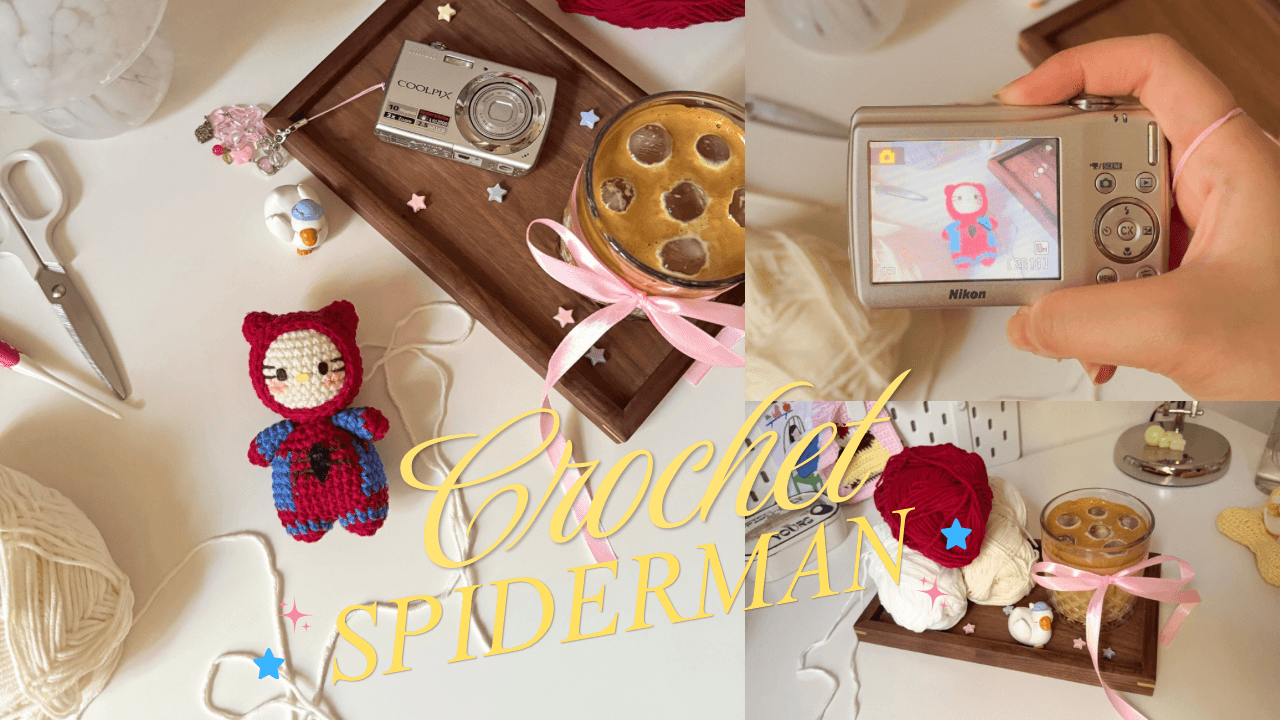
What happens when Spiderman meets Hello Kitty? 🕷️🎀 You get the cutest little superhero duo! In this crochet tutorial, I’ll show you how to make your very own Spiderman Hello Kitty! This pattern is beginner-friendly and made using simple crochet stitches, so it’s a fun project to try whether you’re new to crochet or just looking for a cute little project. Grab your yarn and crochet hook, and let’s make this adorable superhero together! 🩷
✿ Copyright
Please do not copy or redistribute this pattern as your own. This spiderman hello kitty crochet pattern belongs to me, @mucie.studio. You may sell the finished items made using this pattern! Just please give me credit to help support me and my art. This will help me create more patterns for you in the future!
Watch the video below and crochet along with me! I recommend you watch the video while keeping the pattern open to make your crocheting process easier! <3
✿ Notes
‣ This pattern uses US terminology.
‣ Weave in any excess yarn.
‣ The number in between <xx> is the total number of stitches you should have by the end of the round.
✿ Materials
5-ply yarn
white
red
blue
3.0mm crochet hook
Darning needle
Scissors
Felt fabric for the face or you can sew it
Any brown yarn for whiskers
Stuffing
✿ Stitches & Abbreviation
Ch: Chain
St(s): Stitches
Sc: Single crochet
Sl st: Slip stitch
<xx>: Number of stitches at the end of each round
✿ Spider-man Hello Kitty crochet pattern ✿
Head (white yarn)
Round 1: In a magic ring, insert 8sc
Round 2: Inc x 8 <16>
Round 3: (Inc, 1sc) x 8 <24>
Round 4: 1sc, (inc, 2sc) x 7, inc, 1sc <32>
Round 5 - 11: Insert 1sc in each st <32>
Round 12: (Dec, 2sc) x 8 <24>
Round 13: (Dec, 1sc) x 8 <16>
Round 14: Dec x 8 <8>
★ Fasten off and sew the hole at the top.
Hood (red yarn)
Round 1: In a magic ring, insert 8sc
Round 2: Inc x 8 <16>
Round 3: (Inc, 1sc) x 8 <24>
Round 4: 1sc, (Inc, 2sc) x 7, Inc, 1sc <32>
Round 5 - 12: Insert 1sc in each stitch <32>
Round 13: (Dec, 2sc) x 8 <24>
★ Insert the head onto the hood and make sure you put the the nicer part at the front. Make sure the stitches at the front are straight.
Hands (red yarn)
Round 1: In a magic ring, insert 6sc
Round 2: (Inc, 1sc) x 3, sl st <9>
Round 3 - 6: with blue yarn
Insert 1sc in each st <9>
★ Fasten off and repeat the step. At the end, you should have 2 pieces.
Legs / body (red yarn)
Round 1: In a magic ring, insert 6sc
Round 2: Inc x 6, sl st <12>
Round 3: change to blue yarn
ch 1, 1sc, sl st <12>
★ Repeat and make 2.
Round 4: with red yarn
Attach yarn in 1 leg by making a ch1 in any stitch. Then, 1sc on the other leg. Continue with 10sc, sc2tog (other leg ch1 and now leg last stitch), 12sc, sl st <24>
Round 5: (Inc, 2sc) x 8 <32>
Round 6 - 10: crochet using the corresponding yarn color
Red yarn: 4sc
Blue yarn: 8sc
Red yarn: 8sc
Blue yarn: 8sc
Red yarn: 4sc
Round 11: with red yarn
(Dec, 2sc) x 8 <24>
Round 12: Insert 1sc in each stitch
Round 13: (Dec, 1sc) x 8 <16>
Round 14: 4sc, join hands with making 3sc, 3sc, join hands with making 3sc, 3sc <16>
For more detailed steps, I suggest you watch the video guide at the top.
Round 15: Decrease x 8
★ Fasten off and sew the hole at the top.
Ear (red yarn)
Round 1: In a magic ring, insert 6sc
Round 2: (Inc, 1sc) x 6
Round 3: Insert 1sc in each st <9>
Assembly
Sew the head onto the top of the body. Insert your needle through the hood and head, then through the body. Repeat this until it is securely attached and no longer floppy. You can also glue it onto the body if you dislike sewing!
Sew the arms securely to the sides of the body so they stay in place and don’t flop around.
Sew the ears on round 3 - 7 and leave 4 spaces in between.
Cut felt fabric into an oval shape for the eyes and nose. The eyes is in a brown color and the nose is in a yellow color. Then, sew on the whiskers at the side of the face and add some blushers.
Optional: I cut felt fabric into a spider shape and sew on the legs with yarn at the centre of the spiderman suit.
You're doneeee!
From creator
Hi! Haly here, well done finishing the pattern. I'm so proud of you 🩷 Thank you for visiting my site and give my pattern a lot of love. I won't be here if it's not for you!! If you create the pattern and post it on any social media please tag me @muciestudio I would love to see all your creations and you don't know happy I am seeing each one of your posts 🥹🫶🏻 Feel free to reach out if you have any questions, I would be happy to help!
Latest crochet pattern!



You saw. You came. You crocheted.
Thank you for visiting!