
Aug 14, 2025
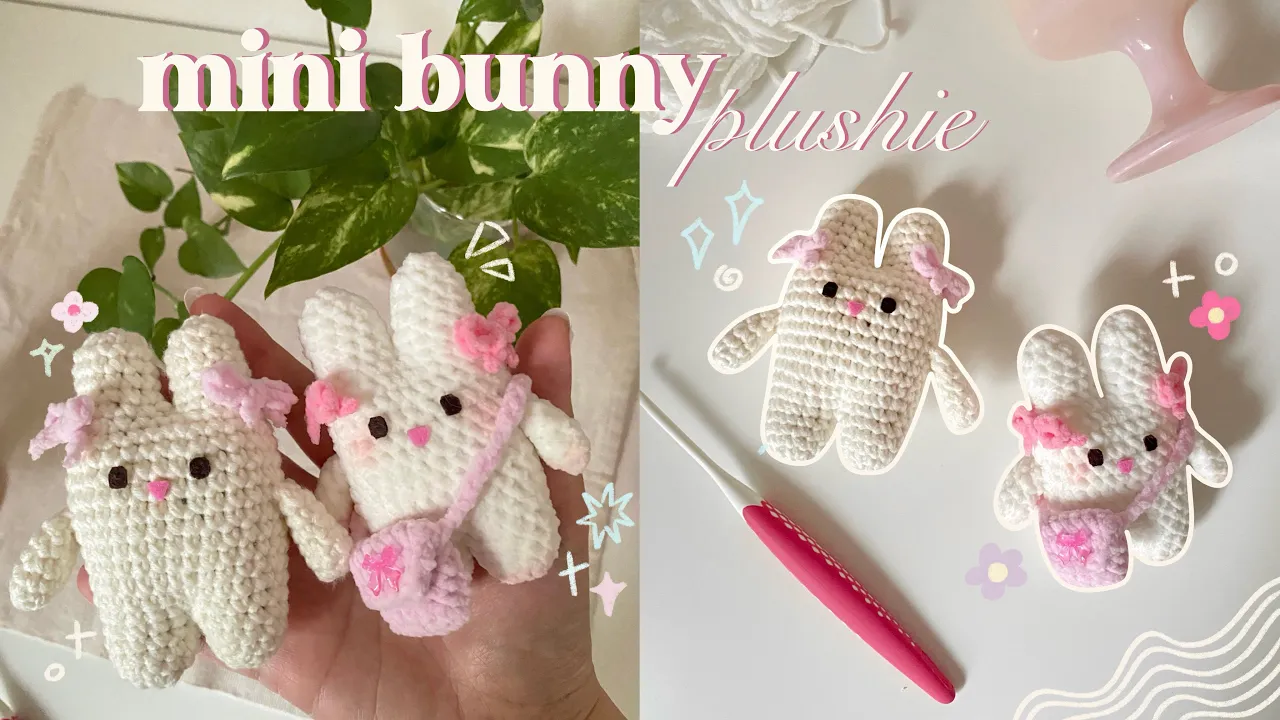
How to crochet cute mini bunny plushie (no magic ring & low sew) | step-by-step tutorial


If you want to crochet a tiny plushie without complicated techniques, this mini bunny plushie crochet tutorial is perfect for you. This pattern is completely no magic ring and low sew, making it super beginner-friendly and easy to complete even if it’s your first time crocheting a plushie. The only thing that you have to sew is the hands. Everything else? You don't need to sew it! Yes, even the ears <3 I have to say that the only hard part is where you're going to join the legs. But don't worry I have a video down below for extra guidance in case you need some help with joining the legs.
✿ Copyright
Please do not copy or redistribute this pattern as your own. This mini bunny plushie crochet pattern belongs to me, @mucie.studio. You may sell the finished items made using this pattern! Just please give me credit to help support me and my art. This will help me create more patterns for you in the future!
Watch the video below and crochet along with me! I recommend you watch the video while keeping the pattern open to make your crocheting process easier! <3
✿ Notes
‣ This pattern uses US terminology.
‣ Number of stitches indicated between <xx>
‣ Mark every first stitch with a stitch marker because we’re going to work in a continuous round.
‣ Weave in any excess yarn
✿ Materials
1. Any yarn that is suitable with 3mm hook
- I’d recommend that you use a velvet/chenille yarn. It would look much prettier with this yarn. However, any type of yarn would do but it has to be suitable with 3mm crochet hook.
2. 3mm crochet hook
3. Darning needle
4. Scissors
5. Stuffing
6. Optional:
- Glue for the bow and face
- For the eyes and nose, I used a felt fabric and cut it. Then, glue it on the face. If you don’t have any fabric you can sew it on.
✿ Stitches & Abbreviation
Ch: Chain
St(s): Stitches
Sc: Single crochet
Sc2tog: Single crochet two together
Dec: Decrease
Inc: Increase
Sl st: Slip stitch
✿ Cute mini bunny plushie crochet pattern ✿
Leg
Use an X stitch single crochet for all body parts.
Round 1: I did a fake magic ring, but if you’re not comfortable with using a fake magic ring you can go ahead and make the real magic ring. Ch 2, start in the 2nd stitch and insert 6sc into the 2nd stitch.
Round 2: Inc x 6 <12>
Round 3 - 5: Insert 1sc in each st <12>
Round 4: (Inc, 4sc) x 5 <30>
★ Fasten off. Repeat and make one more.
Body / Head
Round 6: In this round we’ll join the legs and continue with the rest of the body / head.
I will categorise the two legs as A and B. The first leg being A and the second is B.
Ch 1 anywhere in Leg A and insert 1sc in the same st as the ch 1. Then, insert 1sc in Leg B and continue making 10sc on the same leg. Then, make sc2tog (in the last stitch of Leg B and in Leg A where we have the ch 1). Then, continue with 11sc. <24>
Round 7: (Inc, 3sc) x 6 <30>
Round 8 - 17: Insert 1sc in each st <30>
Round 18: (Dec, 3sc) x 6 <24>
★ Continue with the ears without cutting your yarn.
Ears
Round 19: 1sc, 1sc through both stitches which is the front and back (make sure it’s the centre of the back stitch), then 1sc all around making the first ear <12>
Round 20 - 23: Insert 1sc in each st <12>
Round 24: Dec x 6 <6>
★ Fasten off and sew the hole close. For the left ear, repeat the same step but attach the yarn first by chaining 1. You will have to attach the yarn beside the centre where we have make 1sc through both stitches.
Hands
Round 1: I did a fake magic ring, but if you’re not comfortable with using a fake magic ring you can go ahead and make the real magic ring. Ch 2, start in the 2nd stitch and insert 8sc into the 2nd stitch.
Round 2 - 6: Insert 1sc in each st <8>
★ Fasten off by making a sl st into the first st, ch 1 and cut your yarn (leave a long tail for sewing). Pull the end to tighten up the ch 1.
Bows
Ch how long you want the chains to be. I chained until it’s 12cm long. The longer the chains the easier it is for to tie it into a bow. Then, tie it into a small bow. Pull the excess chains to match with the other end but leave one extra chain to secure it. Next, cut your yarn. I recommend that you glue both ends so that it won’t unravel. Lastly, glue the bow on the side of the ears. Repeat for the other side.
Face
For the face, I recommend that you watch the tutorial. I explained in detail on how to cut the felt and where the placement for the eyes and nose.
You’re done! I’m so proud of you!!
From creator
Hi! Haly here, well done finishing the pattern. I'm so proud of you 🩷 Thank you for visiting my site and give my pattern a lot of love. I won't be here if it's not for you!! If you create the pattern and post it on any social media please tag me @muciestudio I would love to see all your creations and you don't know happy I am seeing each one of your posts 🥹🫶🏻 Feel free to reach out if you have any questions, I would be happy to help!
Latest crochet pattern!


You saw. You came. You crocheted.
Thank you for visiting!
